Showing posts with label gel nails. Show all posts

Saturday, 26 October 2013

SensatioNail Gel Polish Starter Kit - How to use with regular nail polish!

Hi!

I'm following up on my review of the SensatioNail Invincible Gel Polish Starter Kit today with a solution to the one of the things that puts many people (myself included) off trying a system like this. I have been 'collecting' (I like to call it that, it makes it sound more acceptable...) nail polish now for almost four years, and in that time have amassed over 800 polishes (851 to be exact. Yes, I have a spreadsheet...) I have cremes, shimmers, glitters, holos, magnetics, foils, textures...there's no way I could replace them all with gel polish. Don't get me wrong, SensatioNail does do a fab range of gel polishes, easy to find at Boots, Tesco and Asda (and I plan on building a stash of those too, shhh don't tell Mr NN) but even if they did duplicate every polish in my collection it wouldn't be financially viable for me to replace it all. So I wondered if I could use my regular nail polish with the SensatioNail Gel base and top coat for a longer lasting manicure, and it turns out you can!


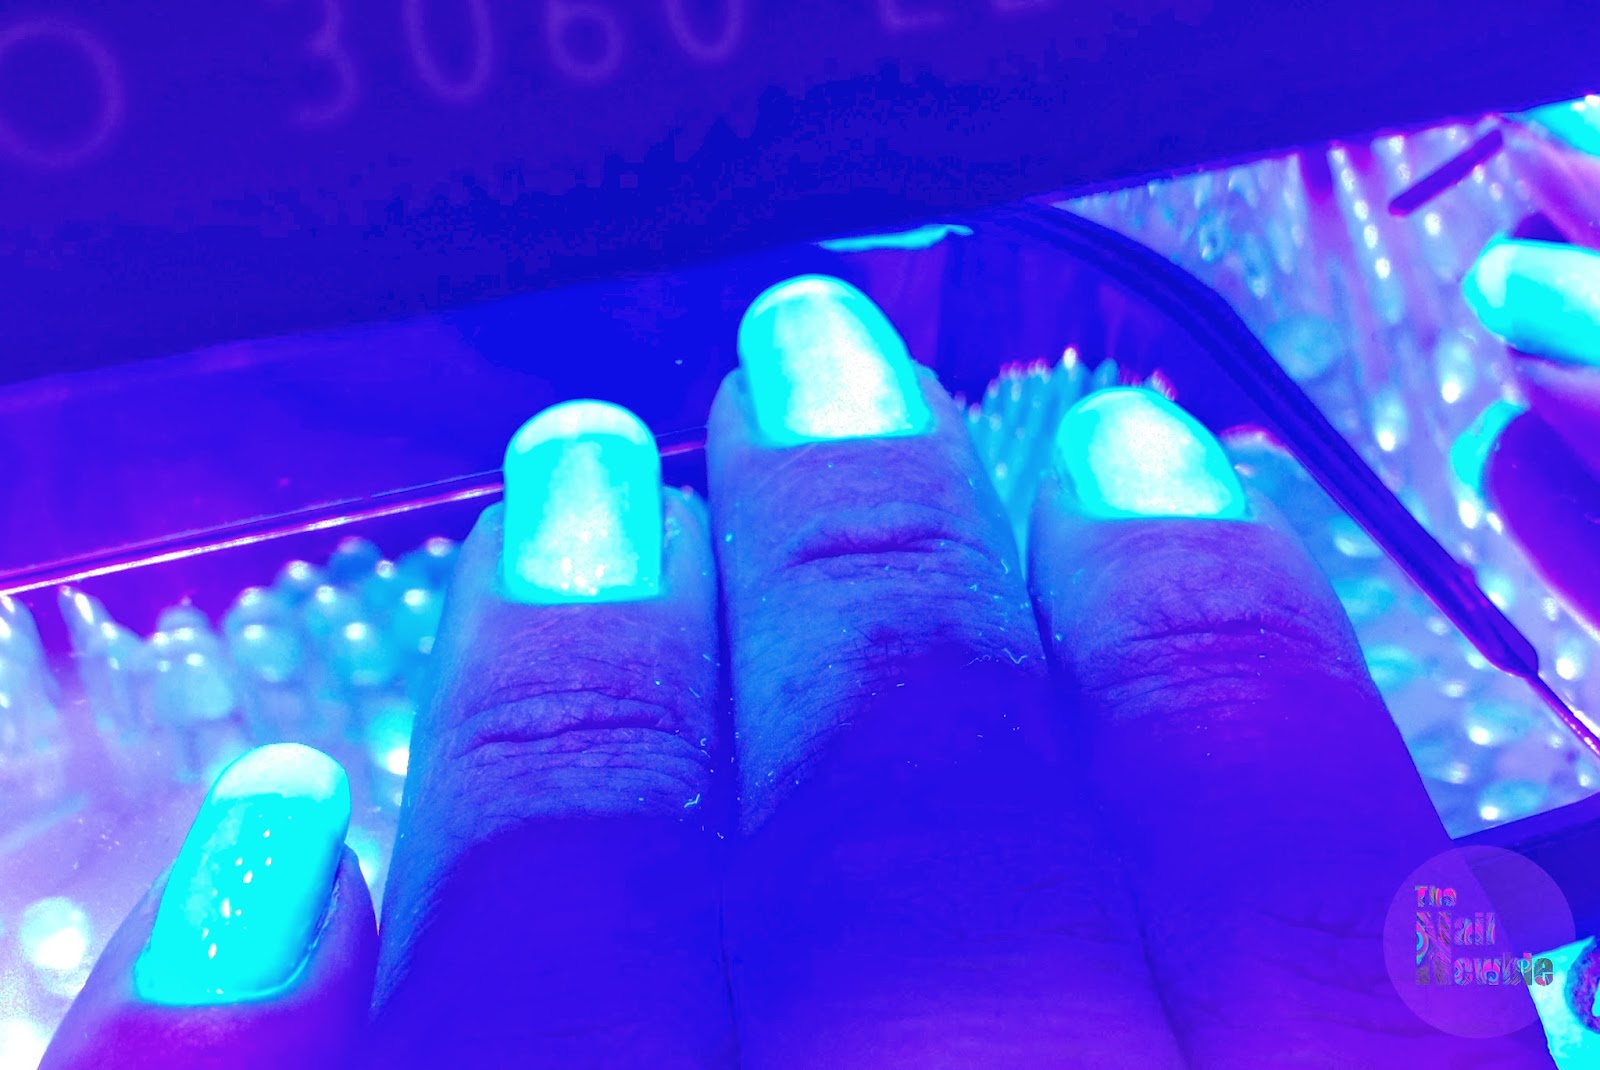
I started off by prepping my nails as you would for a gel manicure. I took off my previous manicure, cleaned and shaped my nails and pushed back my cuticles. It is important to do this as any gel polish you might get on the cuticle will cause the gel to lift and not last as long. Once that was done I lightly buffed my nails with the pink side of the file in the SensatioNail kit, wiped them with the cleanser and a lint free wipe and then applied the primer in a circle around the edge of my nails, all following the instructions in the kit. Next, I applied a thin even coat of the gel base and top coat, making sure to cap the tips of my nails (very important!) and cured for 30 seconds under the lamp. SensatioNail recommends in the instructions that you cure the fingers on each hand separately and the thumbs together for ease. You need to make sure no gel gets on your skin or cuticles too, otherwise it will set rock hard! If you do get any where it shouldn't be, you can just wipe it away before curing.


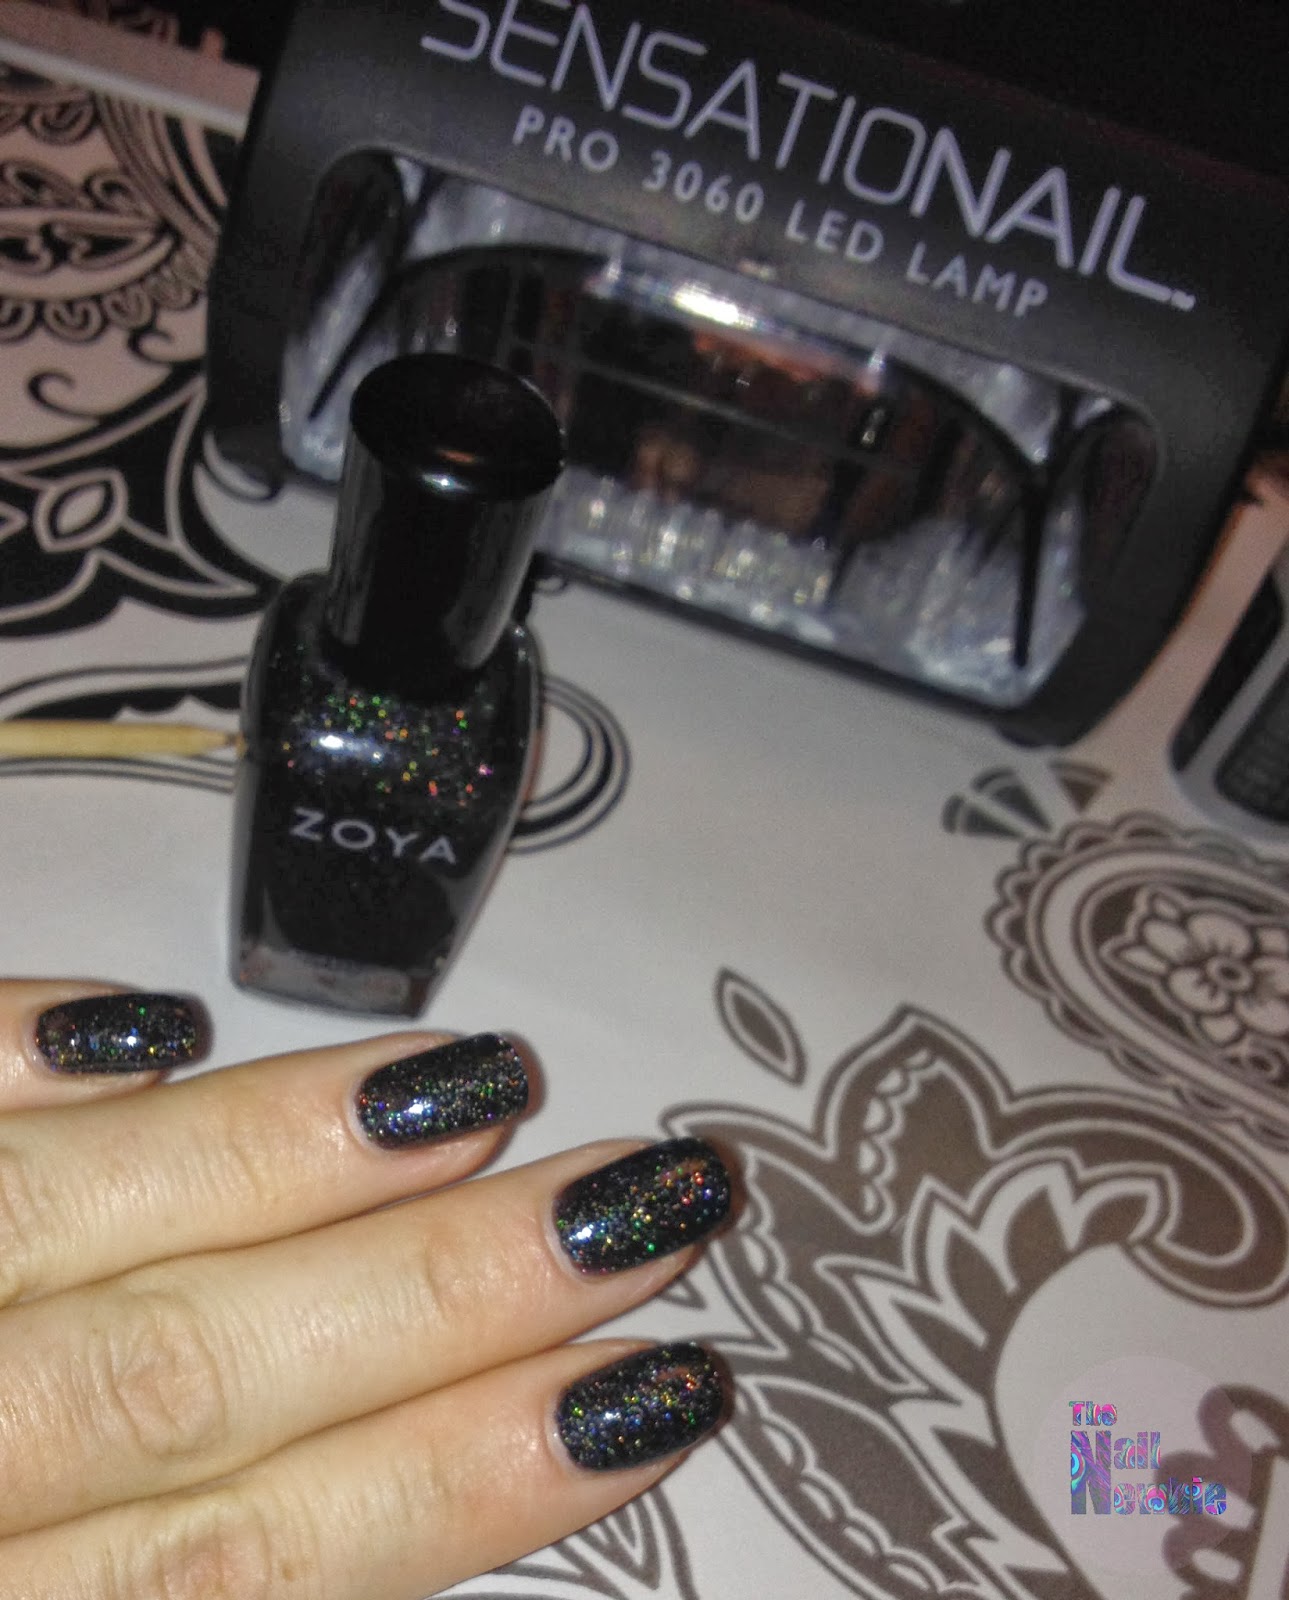
Now this is where you'd normally apply two coats of your gel colour and cure each coat, but using regular nail polish is different. Usually you'd leave the sticky layer left on your nails after curing until the last coat, but I wiped it off now using a lint free wipe and cleanser. You're left with a smooth surface to apply your polish onto, and I used two coats of Zoya Storm. Make sure the tips are capped again and leave to dry. Unfortunately, you can't cure regular nail polish so you have to wait for it to completely dry before moving on. You can use a quick drying topcoat to speed this process up if you need to (and protect your manicure if you're leaving a longer gap between adding the gel top coat), but I didn't. I would also recommend using gel colour "undies" if the polish you've chosen is sheer or needs more than two coats - chose a gel colour that is close to your regular polish colour, or even a neutral nude and cure it before adding the regular polish. That way you don't need as many coats of polish and you're cutting the dry time a little. I'm going to treat myself to SensatioNail La Creme for this purpose! I left Storm to dry for 45 minutes before moving onto the top coat.

Apply a thin layer of gel top coat on top of your regular nail polish, again making sure the tips are wrapped and no gel gets on your skin. You need to also make sure the polish underneath is covered completely otherwise your gel could lift and not last as long. Cure for 30 seconds, wipe off the sticky layer and you're done!


It's really as easy as a normal manicure, and for very little extra effort you should (hopefully) have a manicure that lasts so much longer. I did this for a weekend away, on the Friday evening before I went and it meant I didn't have to worry about taking any polish/remover etc with me or it chipping before my night out on the Saturday.

*UPDATE* It lasted about a week before it started showing signs of wear. It probably would have lasted a few days longer if I hadn't got bored of it! I'd say if you're careful you could get 8-10 days from it.

Now, the only other thing that put me off switching to gel polish full time is how much I like to change my polish. I've not attempted removing a gel mani yet (the pedi you saw in my first impressions post is still going strong after almost 3 weeks!) but I know its not going to be a case of wiping it with polish remover! Also, I usually change my nails 3-4 times a week for various reasons - chipping being the major one but I also love doing my nails and creating nail art. Also I need stuff to post for you guys on the blog! So, in my next SensatioNail post I'll tackle that issue - removal, nail art and changing it up a bit! I'm looking forward to it already ;)

And great news if you're in the UK - until 5pm on Monday you can get £20 off the SensatioNail Invincible Gel Polish starter kit at Sensationail.co.uk, making it just £49.99. It would make a fab Christmas present (if you're feeling organised!) or just treat yourself :)

Hx


The product featured was a PR sample provided to me for free for review consideration. All opinions expressed are my own and 100% honest. Please see my disclaimer in the tab above for further details.
Pin It

Thursday, 17 October 2013

SensatioNail Invincible Gel Polish Starter Kit - First Impressions

Hi all!

Today, I'm venturing into the world of gel nails! It's something I've wanted to try for a while and SensatioNail kindly sent me this starter kit to try. The starter kit contains everything you need for 10 complete manicures (or pedicures!) and costs £60-69.99 - so that works out at less than £7 per manicure. When you compare that to going to a salon, you pay anything from £15-£35 so it's a huge saving. The kit contains gel cleanser, gel primer, colour gel polish (there are a choice of colours available in the kit form, and extras available separately), and gel top and base coat. You also get a file/buffer, lint free wipes, cuticle stick and of course the Pro 3060 LED lamp and instructions.


My first impression when I opened the package was how dinky it is! For me this is a huge plus - it's easy to store, wont take up a lot of space and there isn't a huge load of stuff everywhere - perfect for a home kit. It fits snugly in my nail art draws without taking up a bucketload of space and is easy to get out when I need it. I did wonder if it would be big enough for a pedicure, but as you can see below (yes, feet pictures! You have been warned!) there was plenty of room! The instructions are clear and precise, and really pretty foolproof. Firstly, you wipe your bare nail with the cleanser and a lint free wipe, and then leave to air dry. Then you use the primer in a circular motion around the nail and air dry again. This doesn't take long - by the time I'd done the second foot the first was dry. Then you paint a coat of the base coat, and cure for 30 seconds. The lamp is really clever, it beeps to tell you when 30 seconds is up and turns itself off after the 60 seconds needed for the colour coats. Two coats of colour, with 60 seconds curing each time and then a top coat, cured again for 30 seconds. After that, you need to wipe a sticky layer off with cleanser and a lint free wipe again and you're done! I'm going to post a full tutorial (on my hands!) too, so you can see how easy it is.
I have to say, I was so impressed with how easy it was. The whole process took about 20 minutes from start to finish and I was left with an incredibly shiny, perfect pedicure. Now, of course a regular pedicure doesn't take 20 minutes, but you then have to add dry time onto that. I put my shoes on about 3 minutes after I'd finished to go and pick up the boys from school with no smudging. No more walking around like you've stepped on lego for an hour! And so shiny! Even Mr NN said how shiny they were, and he never normally notices things like that. Also, I can honestly say that a week and a half on they are just as shiny and perfect - not a single chip, smudge, or scratch. I keep my toes polished all the time, and they're quite ridged and bumpy, but you can't tell. Colour me impressed!

I can tell I'm going to get a lot of use out of this kit. Obviously it wont replace my regular polish collection, but I definitely think it's going to be my new pedicure solution, and my preferred option for nights out and special occasions. If it lasts as well on my fingers as it does on my toes, I will be a happy bunny! I have a much needed night out next weekend, and am planning a gel manicure for the occasion and I'll update you then, and also talk about removal. And I'm hopefully going to try some nail art in another post too - I can't resist! Apparently you can use regular polish over your gel manicure if you want to switch it up, and then remove it with non-acetone polish remover, so I'll definitely give that a try!

SensatioNail products are available at Asda, Tesco, Boots (in-store and online) and www.sensationail.co.uk, so you can pick one up with your shopping! Seriously though, if you have gel nails done at a salon, this would be a great, money saving alternative. You can also buy SensatioNail polish (in loads of colours and finishes) and a gel polish essentials kit, for when you need more cleanser, primer, and base and top coat.

All in all, my first impressions of this product has been nothing but positive and I'm looking forward to seeing what else I can do with it!

Hx

The product featured was a PR sample provided to me for free for review consideration. All opinions expressed are my own and 100% honest. Please see my disclaimer in the tab above for further details.
Pin It

Tuesday, 8 October 2013

Beauty UK Posh Polish Gel FX swatch and review!

Hi!

It seems that the latest thing in nail polish is a "gel" effect finish - everyone wants shiny, long lasting colour. To me, as someone who changes their polish every few days if not more, a gel manicure seems like a big commitment! Two weeks with one colour! Luckily, lots of brands have realised this and it's now easy to find gel effect polishes on the high street, and Beauty UK seems to be the latest to join in!

Beauty UK have always been a favourite high street brand of mine. I'm sure I've said before that they are always on trend and at a great price point. When I was first restarting my collection, I would always head to the Beauty UK stand in Superdrug first, and as a result have quite a few of their pretties sitting in my drawers. Their newest range, Posh Polish, comes in round 9ml bottles, and has glitters, textures, denim effect and now these Gel FX polishes. Beauty UK were kind enough to send me three shades to show you: Blue Himalayan, Pink Orchid and Cafe Cosmos. On to the swatches!

All of these swatches were two coats, with no topcoat. I wanted to see if you really could get a good "gel" shine from these polishes. The formula was good, all solid two coaters that weren't runny or streaky. Dry time was average - I would reach for a quick dry topcoat if I was in a hurry but if I had more time I could wait. First up, Blue Himalayan, which is a lovely creamy blue with just a hint of cornflower.


Next is Pink Orchid, a lovely berry-toned pink perfect for Autumn if you're not ready to let go of your summer brights just yet and still want a pop of colour.


And lastly, Cafe Cosmos, perfect cool toned nude. Everyone needs a good nude, and this is a good one! I loved this and you'll see it again avec nail art next week!


You can see the colours are lovely classic shades that wouldn't go unloved in any collection, but do they live up to the "gel" reputation. When I think of gel polish I think of longevity and shine, and you can see these are certainly shiny! No topcoat was used for these swatches, and you get the shiny, squishy effect perfectly. As for wear time, I've been wearing Pink Orchid on my toes for over a week, with no topcoat, and there's only now just a little bit of wear. A week is usually my max for pedicures, but that's with a good strong top coat so for this to equal that without is good going. Overall, I would recommend these polishes if you're looking to extend your collection of good quality basics (there are three more shades available - a dark burgundy, navy blue and classic red), and at just £3.49 you wont break the bank!

Beauty UK Posh Polish is available at Superdrug, Select stores and the Beauty UK website.

Hx

The product featured was a PR sample provided to me for free for review consideration. All opinions expressed are my own and 100% honest. Please see my disclaimer in the tab above for further details.
Pin It

Friday, 23 December 2011

I dun somefing stoopit...

Well, actually my neighbour did. We don't know each other very well, but we bumped into each other at the market a few weeks ago and she noticed my pastel rainbow nails, and told me she was going to do a course on gel nails in the new year. We talked about it for a while, me saying that I'd always shied away from acrylics because of the damage, and she said that gel nails are no way near as bad and can actually protect your nails. So I agreed for her to have a 'practice' on me and in return I would show her my stamping stuff. I think I was hoping for a nail polish friend really! Anyway, she came over Wednesday night with a calcium gel nail kit (basically it means you don't need a lamp to cure it) and pretty much destroyed my nails. I'm not kidding, they're horrific. There's gel on my cuticles, they're lumpy and bumpy and soooo fat and you can see the line where the tip is attached. I think I was expecting her to file the excess gel down once they had set but she didn't. Once they were done she painted them for me (and didn't do a very good job at that either...) and I did some peacock nails for her. Don't get me wrong, we had fun, but I really wasn't expecting the outcome to be, well, so shitty... Amy used China Glaze Jolly Holly and once she'd gone I tried to cover the travesty with W7 Gold Dazzle sponged from the tips and then a coat of ELF Golden Goddess all over the nail.


I mattefied it after wearing for a day to see if that improved it. Not so much. Pretty polish, fugly ass nails.

Looking at these pictures makes me die a little bit inside. What do you think, have I ruined my nails? They were aching when I woke up the morning after she did them, but they're not so bad now. I'm really loving the length though, which makes me think I should stop being so tight and go get them done professionally, seeing as mine will not improve. When I take this mess off tonight I'm going to file them down a bit myself, see if I can make them a bit smoother for my Christmas Day manicure. Which I haven't yet decided on. I was going to use a set of foils I have, but over these lumpy bumpy claws it'd look hideous so I think I'll try stamping them...that's if I don't go insane from looking at them like this and chop my fingers off or something...

Any miracle cures out there? How can I sort this out? Besides removing them completely, which I don't have time for until after Christmas... HALP!

Hx

Pin It