Hi!
I thought since another year is over and all that I'd review the year for my favourite manis and such! This might be a bit of a long, picture heavy post I'm afraid! I did consider splitting it into categories - stamping, nail art, swatches etc, but then I thought I'd do it chronologically so that I could see how I've improved and progressed over the year. Hopefully...
January started with the new 31 day challenge. I didn't blog much of it, due to technological issues (my laptop hated me for a lot of the first half of the year), but I did document it over on
Instagram. Here are my picks from January!
 |
| Purple glitter placement |
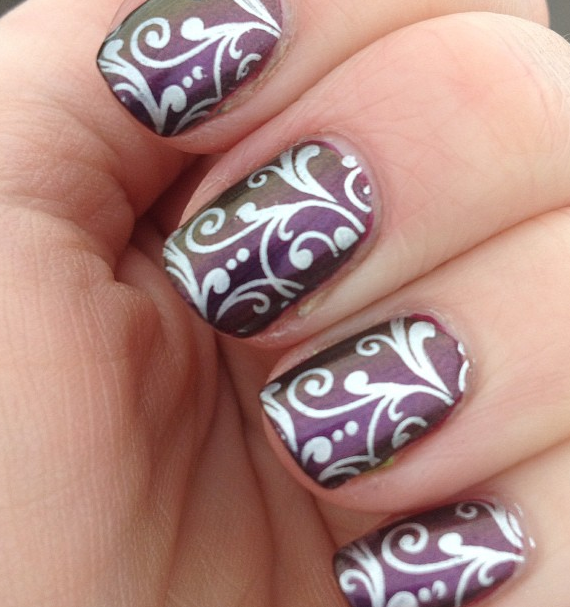 |
Duochrome and stamping combo
|
 |
| Freenhand holo hearts using Color Club 2012 Halo Hues and Revvvolution |
 |
| Holo gradient and stamping |
February, my birthday month, and March, which saw me dip into Crumpet's Nail Tarts tri-polish challenge, which is having a revamp for the new year. I'm going to make an effort to join in more often and not forget!
 |
| Textured stripes with Barry M's pastel textures |
 |
| Tri-polish stripes |
 |
| The first time I layered up my dots for a fishtail effect |
March was also when I got my first Cheeky plates and fell in love with China Glaze Keep Calm, Paint On. I had to sneak in this neon gradient too, with one of the British high street polishes of the year, L'Oreal Confetti.
 |
| Keep Calm, Paint On |
 |
| Hooray for the British High Street! |
April and May were quiet. My technological issues were over but I had nub issues and my blogging mojo was lacking.
 |
| Totally tropical tri-polish |
 |
| Barry M nail art pens were a hit! |
 |
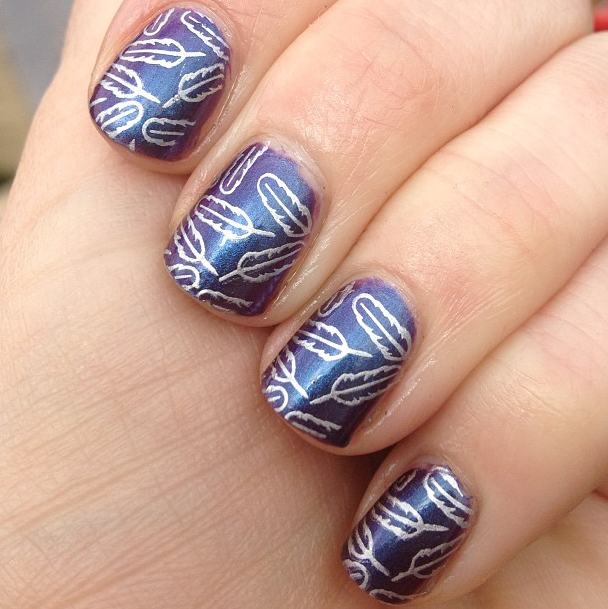
| Feathery nubs |
My nubs were at their naughtiest (and shortest) in June and July, but it didn't stop me developing a love of summer brights and skittles.
 |
| Hare Bisbee. Perfection |
 |
| Basket weave |
 |
| I felt like a Disney Princess with this on my nails! |
 |
| I adore these sparkly Kiko Sugar Mat polishes |
 |
| More princess nails! |
It was now that I got my grubby little paws on a bottle of lush pink Duri Rejuvacote. I've spoken at length about this product, and quite frankly I'm evangelical about it. It's sorted my nails out once and for all (I hope!) And you can tell almost straight away from August onwards that my nails were happier. For more info on Duri and what it's done for me, have a look at
this post that I dedicated to it and all it's wondrous qualities.
 |
| Dollish Polish Penny...Penny...Penny... -it all started with a big bang! |
 |
| Wavy stamping |
 |
| A combo of stamping, loose glitter and a perfect indie glitter |
September saw the start of the Crumpet's Nail Tarts 33 day challenge, which beside a few reviews and the odd Sunday Stamping offering, took up the majority of the next ten weeks and produced some of my best (and poorest) nail art.
 |
Autumn inspired Sunday stamping
|
 |
| Matte and shiny tape mani - tape is my nemesis |
 |
| MoYou stamping plates, where have you been all my life? <3 |
October and November, and on the nails grew...and on went the challenge...
 |
| Ikat and dreamcatchers, perfect combo |
 |
| My macaw. I named him Nigel... |
 |
| The Nailasaurus' Nimbus Nail Art - one of my most popular posts ever, thanks to her linking to it on her blog. Thanks Sammy! |
 |
| Winter is coming! |
 |
| My most favourite gradient evah! |
 |
| Stamping over foils |
 |
| Stamping decals and studs |
What does December mean when you're a nail art enthusiast? Chrimbo nails of course! It also meant my nails were long and strong enough to be shaped into almonds, something I thought 'd never achieve!
 |
| Meet the almonds! |
 |
| Quirk Candy Land. Love. |
 |
| Zig-zag skittles |
 |
Matte flakies, glitter and owl stamping. This mani was a hoot!
|
So, there we have it, my favourite manis of the year, and I hope you can see progression! I think I can - my photographs are better for the most part, and my nails and cuticles are neater, thanks to better clean up and solar oil! I think I'm most proud of the length I've nursed them to - from sad little nubs to long strong talons in 4ish months.
It's funny how you associate things that happened or what you were doing when you were wearing a certain thing, with polish and clothing. I have to say, 2013 has been rather cruel to me and my family, and everytime something bad happened I can remember exactly what was on my nails. But I can remember the good too, including working with some lovely people (including Kerrie from
Quirk and the ever lovely
Debbie Crumpet), none of which would have been possible without nail polish. I love this little community!
Happy New Year my loves.
Hx